📌 Windows Autopatch with Intune: Zero-Touch Updates for Modern Endpoint Management
Windows Autopatch is transforming how organisations handle device update management. With Microsoft’s strong focus on zero-touch IT and modern device management, mastering Autopatch with Intune is becoming essential for IT administrators and endpoint managers.
🧩 What is Windows Autopatch?
Windows Autopatch is a Microsoft-managed service that automates the process of keeping Windows and Microsoft 365 software up to date on enrolled devices.
Rather than managing patches manually or relying solely on Windows Update for Business (WUfB), Autopatch delivers updates in phases, minimising risk and downtime.
Think of it as “Windows Updates-as-a-Service,” optimised for enterprise IT.
Traditional Patching vs Autopatch
| Traditional Patching | Windows Autopatch |
|---|---|
| Manual update policies | Microsoft-managed policies |
| Higher risk of user impact | Phased deployments |
| More administrative effort | Zero-touch once configured |
🤝 Why Use It with Intune?
Windows Autopatch integrates seamlessly with Microsoft Intune. Once devices are enrolled, you can:
- Automate Windows quality and feature updates
- Automate Microsoft 365 and Edge updates
- Reduce manual patching effort
- Gain visibility into update health across deployment rings
This integration boosts productivity while maintaining security and compliance.
⚙️ How to Enable Windows Autopatch in Intune
✅ Prerequisites
- Windows Enterprise E3 or E5 licence
- Microsoft Intune
- Entra joined or hybrid-joined devices
🔐 Required Role for Creating Autopatch Groups
To create and manage Autopatch device groups, you must be assigned one of the following roles:
Windows Autopatch Administrator
This is the primary role required for full Autopatch operations, including management of device groups.
Alternatively, you can use:
-
Global Administrator
Has full permissions across Microsoft 365 services. Not recommended for routine tasks due to elevated privileges. -
Intune Administrator
Provides limited capability for managing policies and devices. Suitable for basic endpoint management tasks, but not full Autopatch control.
🚀 Setup Steps
-
Sign in to the Microsoft Intune Admin Centre
https://intune.microsoft.com -
Navigate to: Tenant Administration → Windows Autopatch → Autopatch Groups
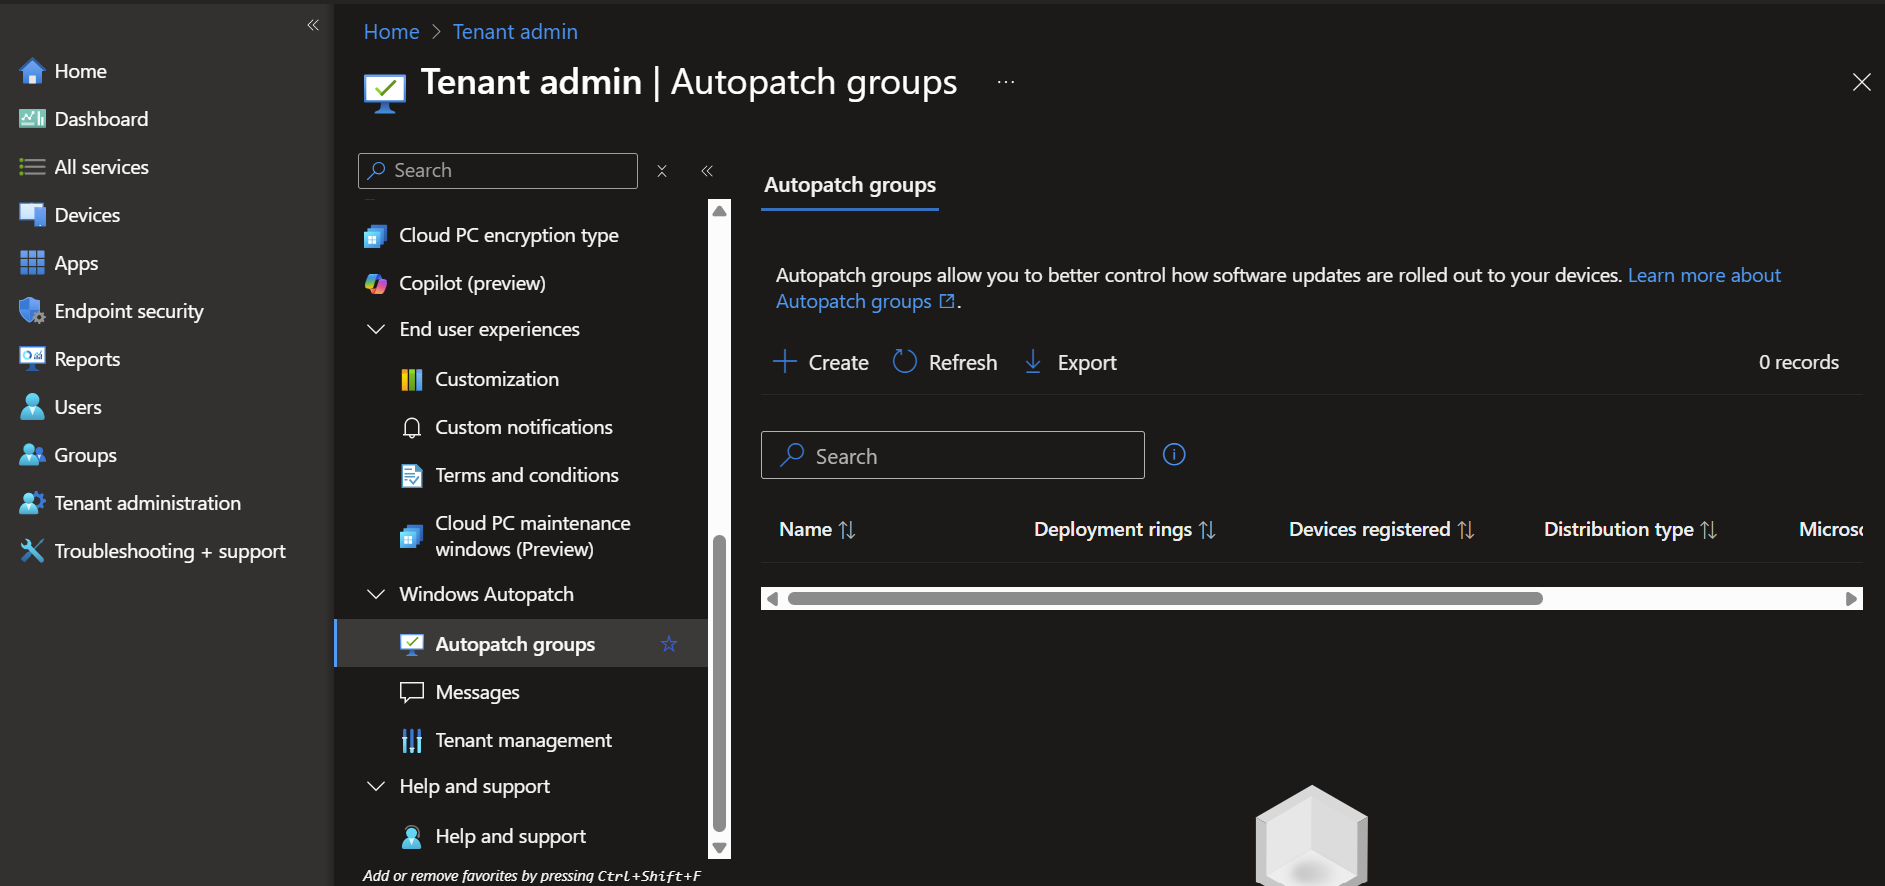
-
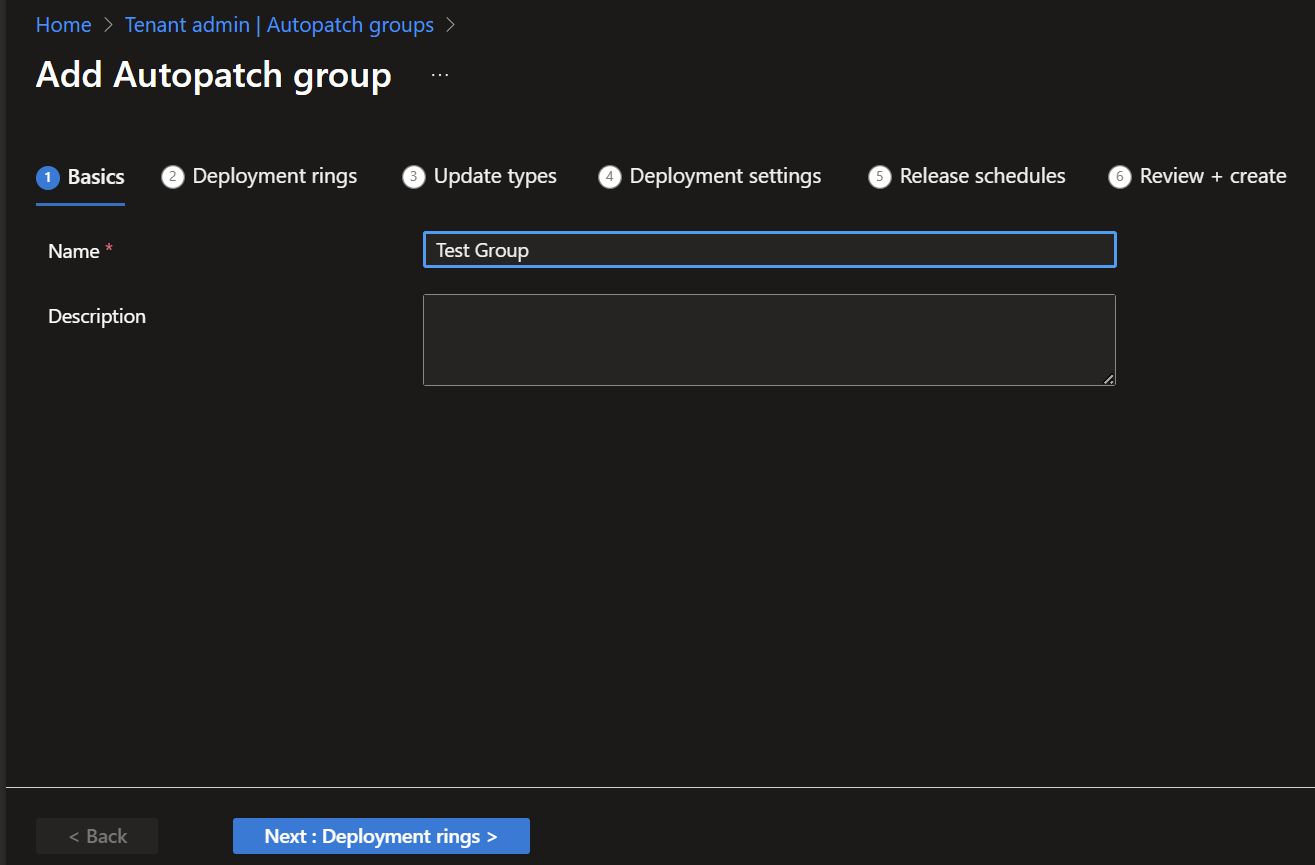
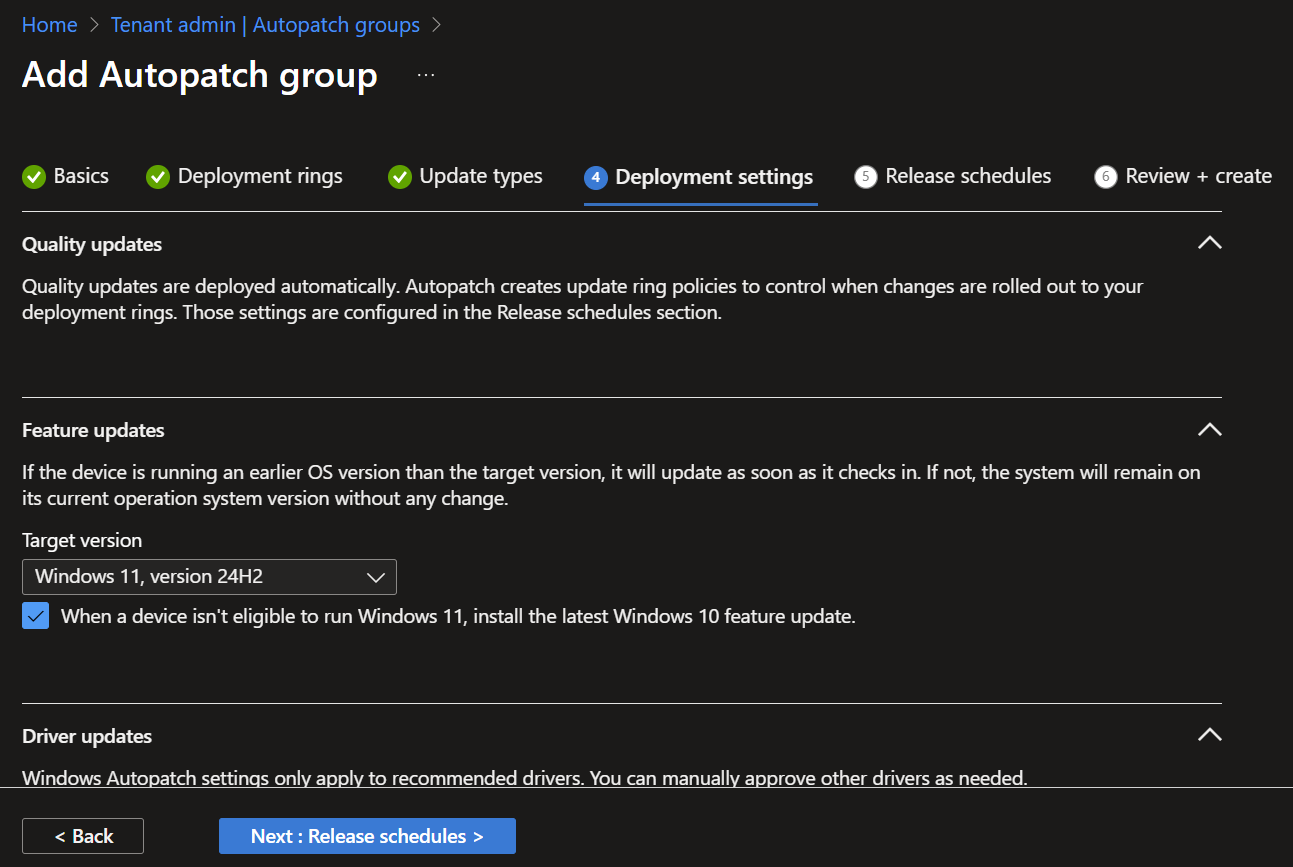
Click “Create” and complete all tabs
Name and Description
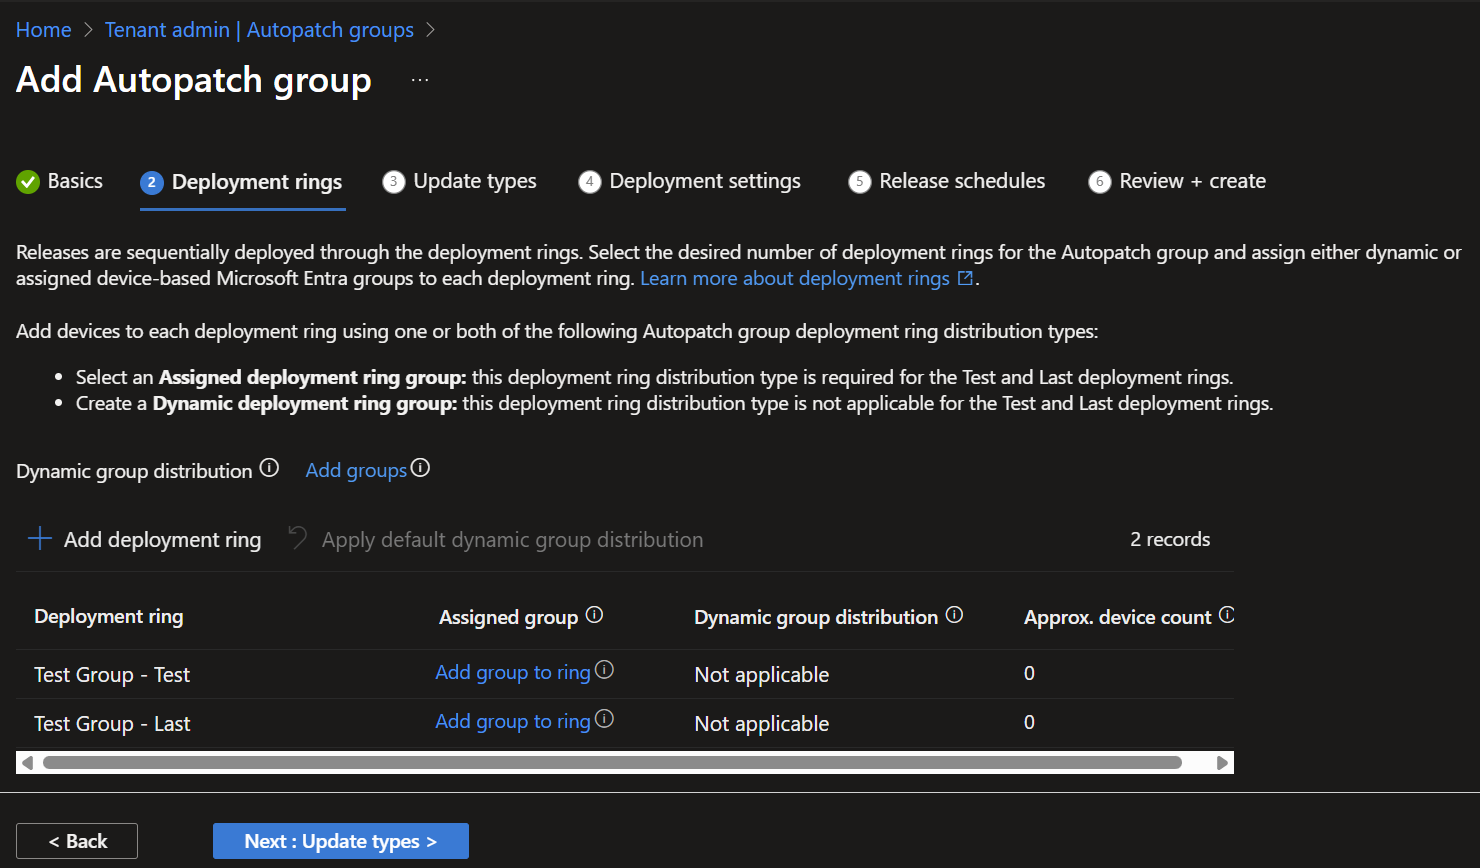
Deployment Rings
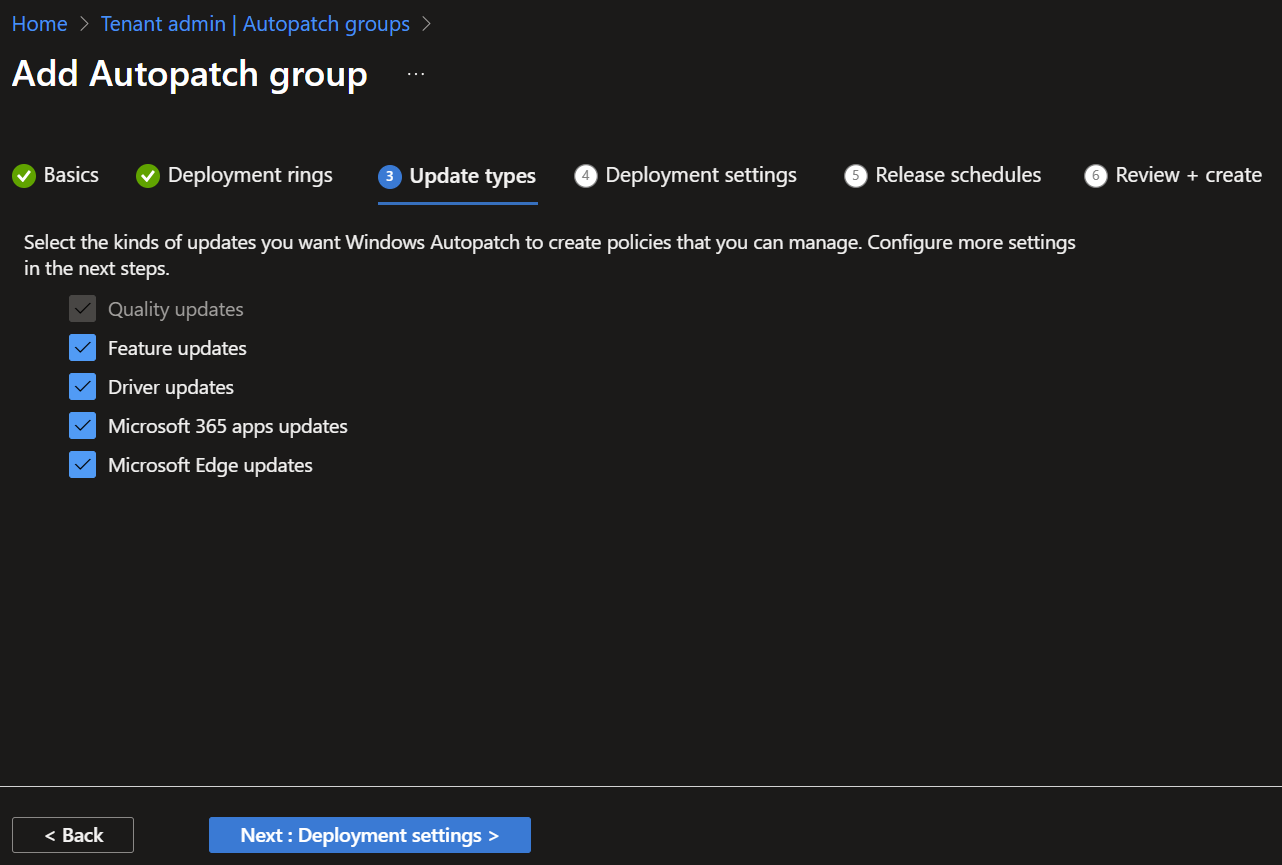
 Update Types
 Deployment Settings
 Release Schedules
 Review + Create

-
Assign device groups to Deployment rings: eg. Test, Last.
-
Monitor update status via the Windows Autopatch Reports page.
🚧 Best Practices and Common Pitfalls
✅ Best Practices
- Start with a small test group before rolling out widely.
- Communicate changes to end users beforehand.
- Use Update Compliance or Intune reporting to monitor success.
⚠️ Common Pitfalls
- Forgetting to assign devices to Autopatch rings.
- Not checking device eligibility.
- Ignoring reporting insights. (eg. update failures)
🧪 Real-World Scenario
Scenario: A company with 500 remote employees uses Windows Autopatch to streamline updates.
- The IT team creates device groups based on regions.
- Autopatch delivers updates in phases using Deployment Rings.
eg. Test → First → Fast → Broad rings - The result? Minimal disruption, fewer admin hours, and stronger compliance.
💬 Expert Take
Windows Autopatch signals Microsoft’s direction towards less hands-on IT, more automation.
It’s ideal for organisations supporting hybrid or remote workforces, though careful planning and oversight remain necessary.
👇 My View:
“Autopatch won’t replace a solid endpoint strategy, but it simplifies execution. Just don’t ‘set it and forget it’. Use the data to fine-tune your update strategy.”
🏁 Conclusion
If you manage Windows devices using Intune, adopting Windows Autopatch is a logical move. It saves time, improves update reliability, and supports modern IT practices.
Resources: